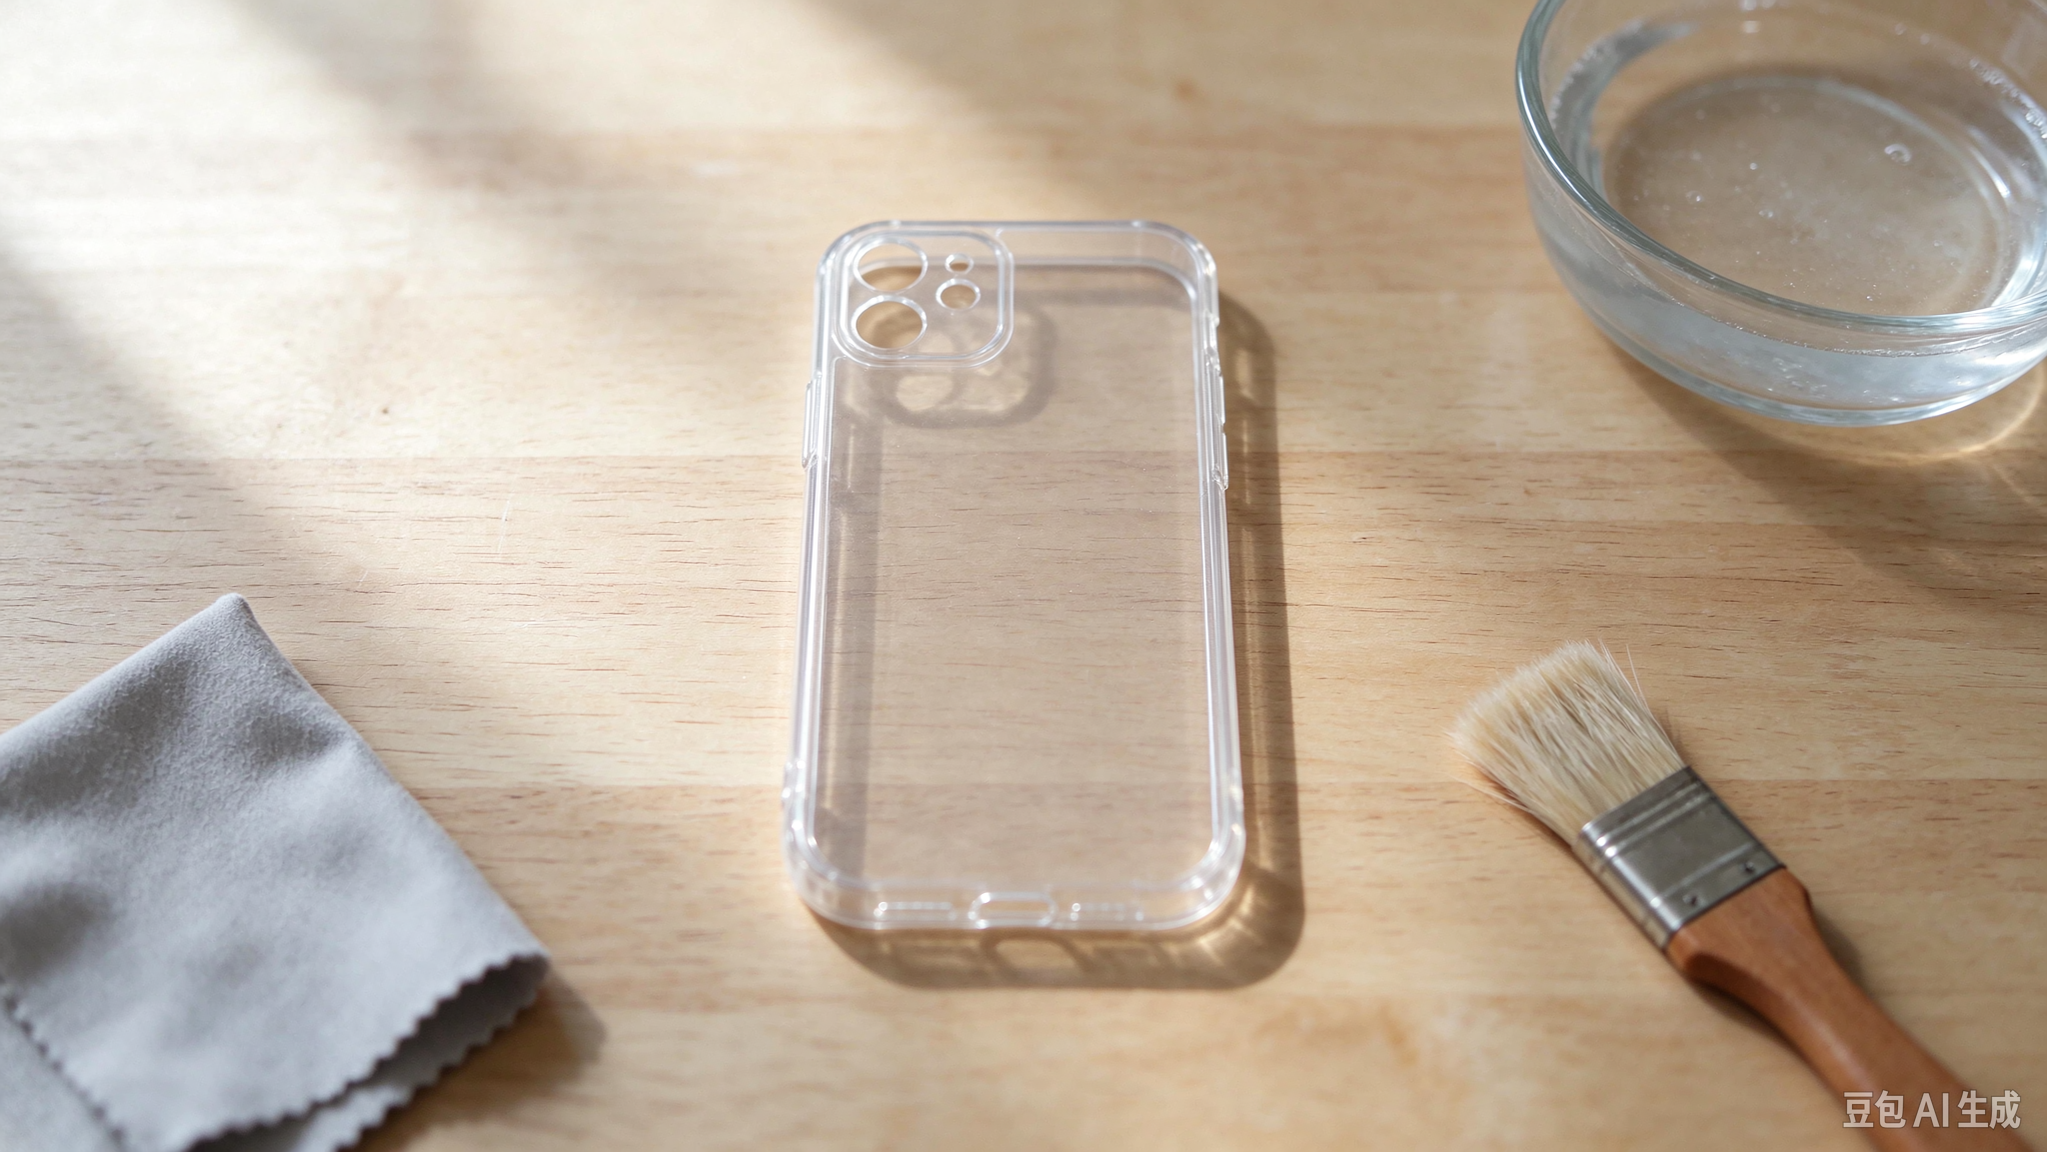
How to Clean a Yellowed Clear Phone Case at Home
If your clear phone case has gone dull, sticky or yellow, this guide walks through the safe home methods that actually work, what ruins a clear case, and how to tell when it’s time to buy a new one. Some yellowing washes off; some is permanent, and we’ll show you how to tell which you’re dealing with.
Is Your Case Dirty, or Permanently Yellowed?
The short answer: you can clean off grease, sweat and surface grime, but you usually can’t reverse yellowing that has already baked into the plastic. So before you grab any cleaning product, spend a minute figuring out which one you’re dealing with. They look similar at first glance, but the fix is completely different.
Start with where the color sits. If the yellow is patchy, stuck around the camera cutout, the charging port or the inside of the case, that’s mostly oil, sweat and dust that has built up over weeks. Take my own clear phone case: compared with the day I bought it, it had turned dull and grayish all over, and the surface felt sticky under my fingers. The sticky, oily layer does wash off. But the dull haze and the marks left behind are a different story.
I learned that the hard way. My first move was an old toothbrush dipped in toothpaste, which feels like the obvious household fix. The stickiness came off, sure, but afterward I could see fine toothbrush streaks across the clear plastic. The grime was gone; the damage wasn’t. That’s the difference between surface buildup and something that has already changed the material.
Next, identify what your case is made of, because it decides which methods are safe later. Bend a corner gently. If it flexes and feels soft, you’re holding a TPU or silicone case — these are cheap, grippy and the ones that yellow fastest. If it’s rigid, clicks into place and doesn’t give under pressure, it’s likely polycarbonate (PC), a hard plastic that resists yellowing longer but scratches more easily.
Why does this matter? Soft TPU and silicone absorb skin oils deeply, and they can react badly to alcohol or strong peroxide. Hard PC takes those chemicals better, but a rough scrub will leave micro-scratches that make it look cloudy. We’ll match the method to your material in the next sections.
| Material | Feel and flex | How it yellows | Chemical tolerance | Scratch risk |
| TPU / silicone (soft) | Flexes, soft, grippy | Yellows fastest; absorbs skin oils deeply | Poor with alcohol and strong peroxide | Low to medium |
| Polycarbonate / PC (hard) | Rigid, clicks into place | Resists yellowing longer | Handles alcohol better | Higher; rough scrub leaves micro-scratches |
Quick rule of thumb: patchy, sticky, corner-and-inside grime = cleanable. Even, dry, whole-case amber or brown = permanent. If you’re in the second group, skip ahead to the signs it’s time for a new case; the cleaning methods below are mostly for the first.
What You Need Before You Start
You don’t need a special cleaning kit for this. Most of what works is already in your kitchen or bathroom, and the list stays short on purpose — every extra product is another chance to damage the case.
For the basic pass, grab a soft-bristled brush. An old toothbrush works, but check the bristles first: they should bend easily under your finger. The stiff kind is what left those streaks on my last case, so if yours feels rough, swap it for a makeup brush or a soft dish brush instead. You’ll also want a lint-free cloth — a microfiber cloth is ideal, but a clean cotton towel or kitchen paper works in a pinch. Skip paper towels here; they leave fine paper dust and can scratch the surface.
For the solutions, keep a small bowl of warm water with a few drops of mild dish soap, a box of baking soda, and some plain white vinegar. Isopropyl alcohol at 70% or higher is optional, mainly for greasy residue, and we’ll cover when to use it later. Hydrogen peroxide stays in the last-resort section, so don’t open it yet.
A few rules before anything touches the case. Take the phone out first — never soak or run the case under water while your phone is still inside, and don’t pour liquid directly onto the phone itself. If you’re using alcohol or peroxide, dab a tiny spot on an inner corner or edge first and wait a few minutes; if the plastic looks dull or cloudy there, stop. After every method, rinse or wipe the case and let it air-dry completely before you snap the phone back in. Trapped moisture inside a case is how people end up with a foggy screen or a sticky charging port, and that’s a mess you don’t want to fix later.
Safe Household Methods to Try First
Safe Household Methods to Try First
| Method | Best for | How harsh | Notes |
| Warm soapy water | Everyday grease, sweat, light grime | Gentlest | Soak 5–10 min; stop here if the case looks clear |
| Baking soda paste | Marks soap won’t lift | Mildly abrasive | Don’t press hard or scrub in circles |
| Vinegar + baking soda soak | Set-in grime in tight spots | Mild | Soft TPU/silicone: soak less time |
| 70%+ isopropyl alcohol | Stubborn grease after the soap wash | Moderate, occasional only | Spot-test an inner edge first; caution on soft TPU/silicone |
| 3% hydrogen peroxide + sun | Last resort only | Harsh, mixed results | Often temporary; soft cases are poor candidates |
Warm Soapy Water
This is the everyday clean, and it handles most grease and sweat buildup on its own. Add a few drops of mild dish soap to a bowl of warm, not hot, water and let the case soak five to ten minutes. On my own clear case, the dirtiest spot was always around the charging port — that’s where pocket lint, sweat and hand oil collect first, so give that area extra attention with the soft brush. Scrub gently inside and out, working around corners and button edges, then rinse under cool water and dry with a lint-free cloth. If it looks clearer and feels less sticky, stop here — nothing stronger is needed.
Baking Soda Paste
For marks soap won’t lift, make a thick paste of baking soda and a little water, roughly three parts soda to one part water. Rub it on the stained spots with the soft brush, let it sit around ten minutes, then rinse well. Don’t press hard or scrub in circles; baking soda is mildly abrasive, and rough rubbing is how those fine streaks happen.
Vinegar and Baking Soda Soak
For really set-in grime, try the fizzing soak. Put the case in a small container, add a couple of spoons of baking soda, and pour in plain white vinegar until it covers the case. The bubbling helps loosen dirt in tight spots. Let it sit up to an hour or two — give soft TPU or silicone less time, since prolonged soaking can weaken them. Rinse thoroughly and air-dry before reattaching the phone.
Afterward, look at the case in good light. Surface haze lifting off is a normal result; if the yellow tint looks unchanged after a proper clean, that’s permanent material change, not leftover dirt. Skip ahead to the replacement signs instead of escalating to harsher chemicals.
Isopropyl Alcohol for Stubborn Grease
If the case still feels sticky or greasy after the soap wash, especially around areas that touch your hands or face, alcohol is the next step. It cuts through oils soap leaves behind — sweat, hand lotion, sunscreen residue, that thin film that builds up on the back of the case over a day of pocket carry.
Use 70% or higher isopropyl alcohol, but don’t pour it straight onto the case or soak the whole thing. Dampen a corner of your microfiber cloth instead, then wipe the outside, inside and edges lightly. Work in small sections, and let the alcohol evaporate on its own rather than rubbing it dry immediately. If you want to be cautious, rinse the case lightly with water afterward and dry it fully before putting the phone back in.
The main caution here is material. Soft TPU and silicone absorb everything nearby, and repeated alcohol use can leave them dull, cloudy or even more sticky than before — the coating on these cases is thinner than people expect. Hard PC handles alcohol better, but it still shouldn’t get a full wipe-down every week. Do the spot test on an inner edge first, like we covered earlier: if the plastic looks hazier after a few minutes, stop and go back to soap and water.
Treat this as an occasional grease cleanup, not your default wash. Once a month or after a particularly sweaty day is plenty; reaching for alcohol every time you notice a mark speeds up the very wear you’re trying to clean away. And if the case feels sticky again right after the alcohol dries, that usually means the material has started to break down, not that you need more cleaning.
Hydrogen Peroxide and Sunlight: The Last Resort
This is the method most people mean when they ask about bringing a yellowed clear case “back to life,” and I’d put it last for a reason. The process has a name in the plastic-restoration community — retrobrite — and it was developed for old electronics housings, game consoles and similar aged plastic, not really for thin phone cases. Results on a case are genuinely mixed: some users report a lighter tint for a few weeks, others see little change at all, and a few end up with a cloudier or more brittle shell.
Here’s how people do it. Remove any electronics first. Use ordinary 3% household hydrogen peroxide — skip the stronger salon or industrial strengths. Submerge the case in it in a sealed container, or coat the surface and wrap it tightly in plastic wrap to keep it from drying out. Leave it in direct sunlight or under a UV lamp for a few hours up to a day, checking on it now and then. Rinse thoroughly with soap and water when you’re done. Wear gloves throughout; peroxide irritates skin, and the stronger concentrations burn.
A few warnings before you consider it. The improvement, if any, is often temporary — the yellow can come back as the plastic keeps aging. It can also weaken or craze older, sun-damaged plastic, and soft TPU or silicone cases are poor candidates for this treatment. Most case brands and device manufacturers advise against bleach, peroxide or concentrated solvents on their products, so you’re doing this without any backing from the maker.
I’d be honest here: for a phone case that has turned amber or brown through normal use, this is usually more effort than it’s worth. If the gentler methods didn’t clear it, the material has likely already changed, and a new case is the cleaner outcome than a week of peroxide soaking. We’ll cover the replacement signs next.
Home Hacks That Actually Ruin Clear Cases
A lot of household cleaning advice sounds clever until you try it on a thin clear case. These are the ones that leave permanent marks, and most of them I’d avoid entirely.
| Product | Why people reach for it | What it does to clear plastic | Verdict |
| Toothpaste | Feels like a gentle whitener | Fine abrasives grind permanent micro-scratches into clear plastic; streaks can’t be fixed at home | Avoid |
| Bleach / strong whiteners | Hoping to lift deep yellowing | Breaks down soft TPU/silicone, leaving it brittle, chalky or more discolored; doesn’t reverse chemical yellowing | Avoid |
| Acetone, nail polish remover, paint thinner | Thinking it dissolves grime | Dissolves or softens plastic: dull patches, softened frame, warped edges; on soft cases within seconds | Avoid |
| Metal scouring pads, steel wool, rough pot sponges | Trying to scrub harder | Grit scratches through the clear finish; the scratch pattern catches light | Avoid |
Toothpaste is the one I have firsthand experience with. It feels like a gentle whitener, but it contains fine abrasive particles meant to scrub tooth enamel — the same particles grind micro-scratches into clear plastic. I used it on my case with an old toothbrush: the stickiness lifted, and the streaks were already there to stay. Once the surface is scratched, polishing it out means removing a layer of plastic, which most people can’t do at home.
Bleach and strong whiteners are another bad call. People reach for them hoping to lift deep yellowing, but chlorine bleach breaks down soft TPU and silicone over time, leaving the material brittle, chalky or more discolored than before. It also won’t reverse chemical yellowing, so there’s no upside — only damage.
Acetone, nail polish remover and paint thinner dissolve plastics rather than clean them. A wipe that looks fine at first can leave a dull patch, soften the frame or warp the edges, and on a soft case the reaction can happen within seconds. Same story with metal scouring pads, steel wool or rough pot sponges: their grit scratches through the clear finish right away, and that scratch pattern catches light every time you look at the case.
A simple rule: if a product is meant to strip, dissolve or abrade something else, don’t test it on your phone case. If after any cleaning the plastic feels rough, looks cloudy in patches, bends oddly or snaps when it used to flex, that damage is permanent — move on to checking whether it needs replacing.
Getting Into Corners, Camera Cutouts and the Inside
The part of a case that gets dirtiest is rarely the back you see every day. It’s the side pressed against your phone, plus the cutouts and seams where dust and oil settle out of reach of a quick wipe.
Start with the inside. Take the case off and lay it flat, inner side up. The film there is mostly hand oil and sweat that transferred off your phone over weeks, and it often looks duller than the outside. Brush it gently with the soft brush or wipe it with the damp cloth, following the shape of the case rather than scrubbing back and forth. Don’t dig into any raised ridges or button covers; those flex and wear down faster than the main panel.
For the openings, the charging port area is usually the worst spot, like it was on mine. Pocket lint and skin oil collect around that rim first, and a quick wipe over the back won’t touch it. Use the tip of the soft brush or a folded corner of the cloth to work around the camera ring, port edge and button gaps. A dampened cloth corner is better than a soaked one here — you want to lift the grime, not push moisture into the seam.
Keep water away from the openings while you clean. Rinse the case under running water from the outside if needed, but don’t hold the port cutout under the stream, and never clean the phone itself with the case on. Afterward, shake out any trapped drops and let the case air-dry fully, inner side up, before you snap the phone back in. A case that goes back on damp traps moisture against the phone, and that’s how people end up with a foggy camera or a film on the screen.
Signs It’s Time to Stop Cleaning and Replace the Case
If you’ve run through the gentle methods once or twice and the tint hasn’t moved, you’re looking at material degradation, not leftover dirt. The yellowing here is a chemical change inside the polymer caused by UV light, heat and skin oils over time — it can’t be scrubbed or soaked away. We break down the science in our piece on why clear cases turn yellow; here it’s enough to know that once this stage hits, cleaning is only surface maintenance.
Watch for these signs, and any one of them is a reasonable reason to stop trying to save the case. The color has moved past yellow to a brown or amber tint across the whole shell. The surface stays cloudy or hazy after a proper wash, rather than clearing up. You see fine cracks along the edges or around the camera cutout, or the rim has lifted and no longer snaps flush to the phone. The material feels brittle — it flexes less than it used to, or whitens and creases when you bend a corner. If the case has warped, loosened its grip or sits crooked on the phone, that’s another one.
These aren’t just looks problems. A case that has dried out and cracked doesn’t wrap the phone the way it did when new; the corners and edges lose their shock-absorbing fit, which is the whole reason you put a case on in the first place. Keeping a worn shell around to save a few dollars usually means weaker protection exactly when you drop the phone.
When it’s time, pick a replacement built to resist yellowing rather than another soft TPU shell that will repeat the cycle. Our roundup of the best clear cases covers hard polycarbonate and anti-yellowing options that stay clearer longer.
How to Keep Your Clear Case Clear Longer
Yellowing can’t be fully stopped — the chemistry keeps moving — but a few habits push it further down the calendar instead of letting it arrive in a few months.
The biggest one is heat and sun. UV light and warmth break down soft plastic fastest, so don’t leave your phone on a sunlit windowsill, tucked under a beach towel, or resting on a hot car dashboard while you’re out. A phone that spends every afternoon in direct sun will yellow weeks earlier than one carried in a pocket or bag. Sweat and makeup residue do their part too; washing your hands before handling the phone sounds basic, but hand oil is one of the main things the case absorbs over time.
Keep a light weekly clean with warm water and mild dish soap, using the soft cloth or brush from earlier. This removes oils before they soak in, and it’s gentler than reaching for alcohol every time you notice a mark. Skip the harsh chemicals on a regular basis; they strip the finish and speed up the wear they’re meant to prevent.
The other lever is what you buy next time. Soft TPU and silicone are cheap and grippy, but they’re the materials that yellow fastest. Hard polycarbonate stays clearer longer, and some clear cases use UV-resistant coatings or stabilized polymers to resist discoloration. Our clear case roundup flags those options. If you want the full picture on why these materials age differently, our piece on clear case yellowing covers the science.
FAQ
1. Can you remove yellowing from a clear phone case?
Sometimes. Surface grease, sweat and dirt wash off with soap and water, but yellowing baked into the material from UV light and heat usually can’t be reversed. If a gentle clean leaves the case still yellow or brownish, the material has degraded and a replacement is the practical fix.
2. How do I make my yellow clear case clear again?
Start with warm soapy water and a soft brush, then try baking soda paste for stubborn marks. A vinegar-and-baking-soda soak and diluted rubbing alcohol cover heavier grime. If the even, whole-case tint stays after these steps, no home method brings it back — the case needs replacing.
3. Does vinegar remove yellowing on a phone case?
Vinegar helps loosen surface grime and soap buildup, but it won’t reverse chemical yellowing in the plastic. A vinegar-and-baking-soda soak works best on greasy, set-in dirt; for an amber or brown tint caused by UV degradation, vinegar will do little or nothing.
4. Can hydrogen peroxide remove yellowing on plastic?
It can lighten some aged plastic in a process called retrobrite, but results on thin phone cases are mixed and often temporary. It can also make old, sun-damaged plastic brittle, and soft TPU or silicone don’t handle it well. Treat it as a last resort, not a reliable fix for a yellowed case.
5. How long until a clear phone case turns yellow?
It depends mostly on material and use. Soft TPU and silicone usually start showing yellow within months, especially in sun and heat; hard polycarbonate resists yellowing much longer. Direct sun, hot car interiors and heavy sweat speed it up, while regular cleaning and a UV-resistant case slow it down.
6. My clear case has turned brown. Can I clean it?
Try a gentle soap-and-water clean first; brown often means deeper material change than plain yellow. If the brown tint, cloudy surface or stiff, brittle feel stays after washing, the plastic has degraded past cleaning. Warped, cracked or lifted cases should be replaced rather than saved.
7. Is rubbing alcohol safe on a clear phone case?
70% or higher isopropyl alcohol can wipe stubborn grease off occasionally, but don’t soak the case or use it weekly. Soft TPU and silicone are more likely to turn cloudy or sticky from repeated alcohol; hard PC tolerates it better. Test a hidden inner edge first and let it air-dry fully.
8. Can I use toothpaste or a magic eraser on a yellowed case?
Avoid both. Toothpaste and magic erasers carry mild abrasives that scrub away dirt, but they also grind permanent micro-scratches into clear plastic — once scratched, the finish looks cloudy and can’t be fixed at home. Stick to soft brushes, microfiber cloths and liquid cleaners instead.
发表回复